 BillsOn
History and spending
Review recorded payments, correct a mistake and explore spending for a selected period.
Find and correct a payment record
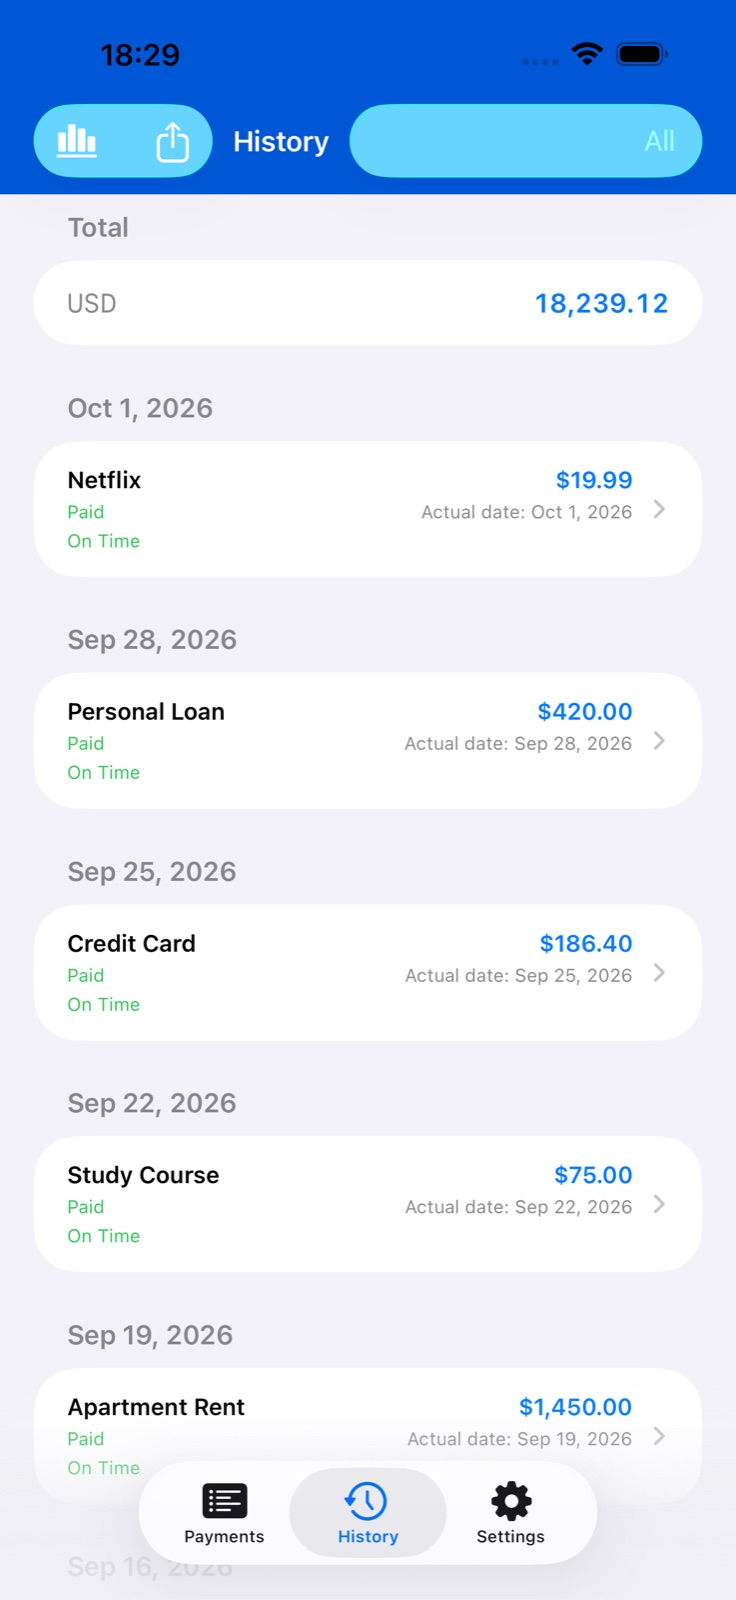
Open History and choose a top-right filter: all records, this month, this year, grouping by month or a custom period. For a custom period, set the start and end dates.
Tap a record to see its amount, date, status and attachments. Statuses distinguish paid, partial and skipped records. Totals are shown separately by currency.
Tap Edit in record details, or swipe its row and choose editing. Correct the amount, date or attachments and save. Changing history can recalculate the associated bill’s schedule.
Delete an incorrect record using the swipe action. This changes recorded history; afterwards, check the bill’s next due date.
Explore spending over a period
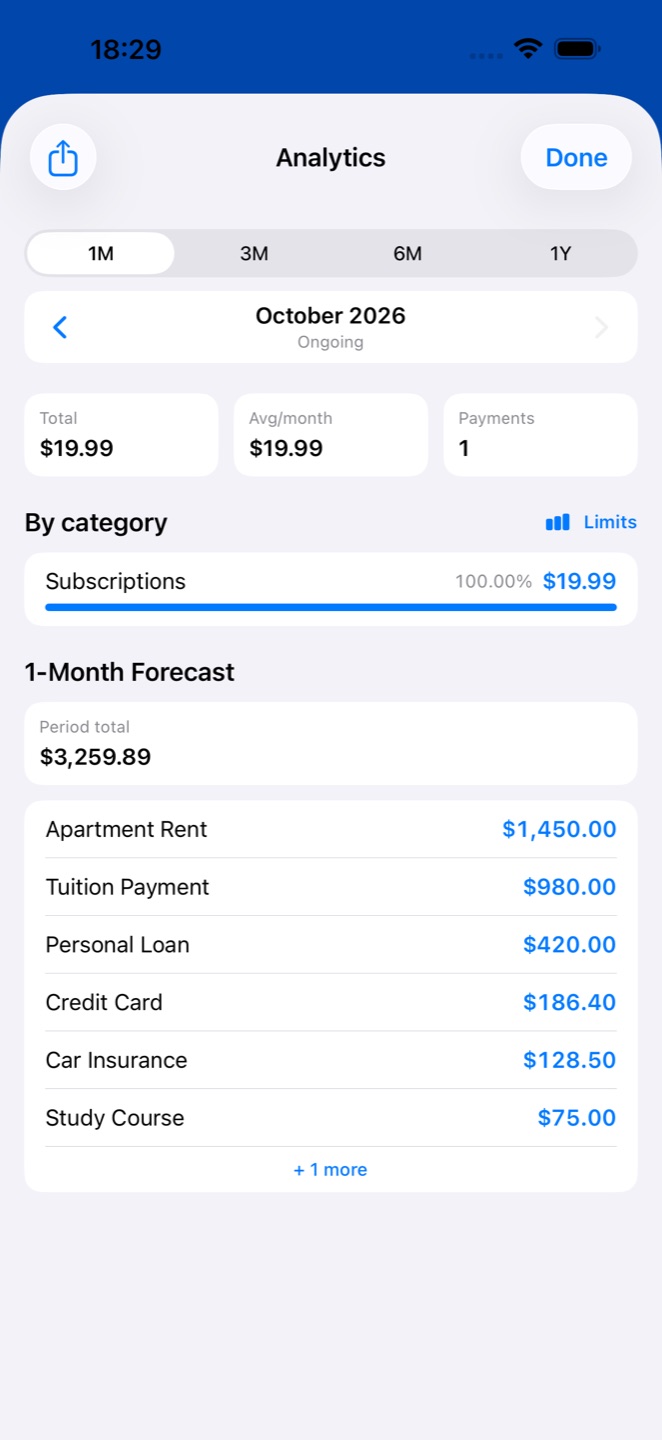
In History, tap the chart icon at the top left to open Analytics. Select a period and use the arrows to navigate dates.
Review the total, category breakdown and period data. Recorded payments and future obligations serve different purposes: a projection does not mean money has already been spent.
If spending appears under an unexpected category, check the category on the bill itself. Assign categories when creating bills to make reports useful.
Set category budgets
In Analytics, open Budget Limits. Enter a limit next to a category and save.
Limits are monthly. For a period spanning several months, the app scales the limit by the number of months and shows spending against it.
A budget helps you track spending; it does not block bills or banking transactions. Change or remove it in the same editor.
Save CSV or PDF
To export records, open History, select a period and tap Share. CSV contains records from the selected filter.
In Analytics, open Share and choose PDF for a report or CSV for a spreadsheet. Export uses the selected period.
In the system sheet, choose Save to Files or an app to share with. An exported report is not a backup of every app setting.